Setting up your project correctly in Autodesk Maya is the foundation for a smooth and efficient 3D workflow. Maya’s project structure allows artists to organize assets, references, and dependencies in a streamlined manner, which becomes especially important in collaborative or large-scale environments.
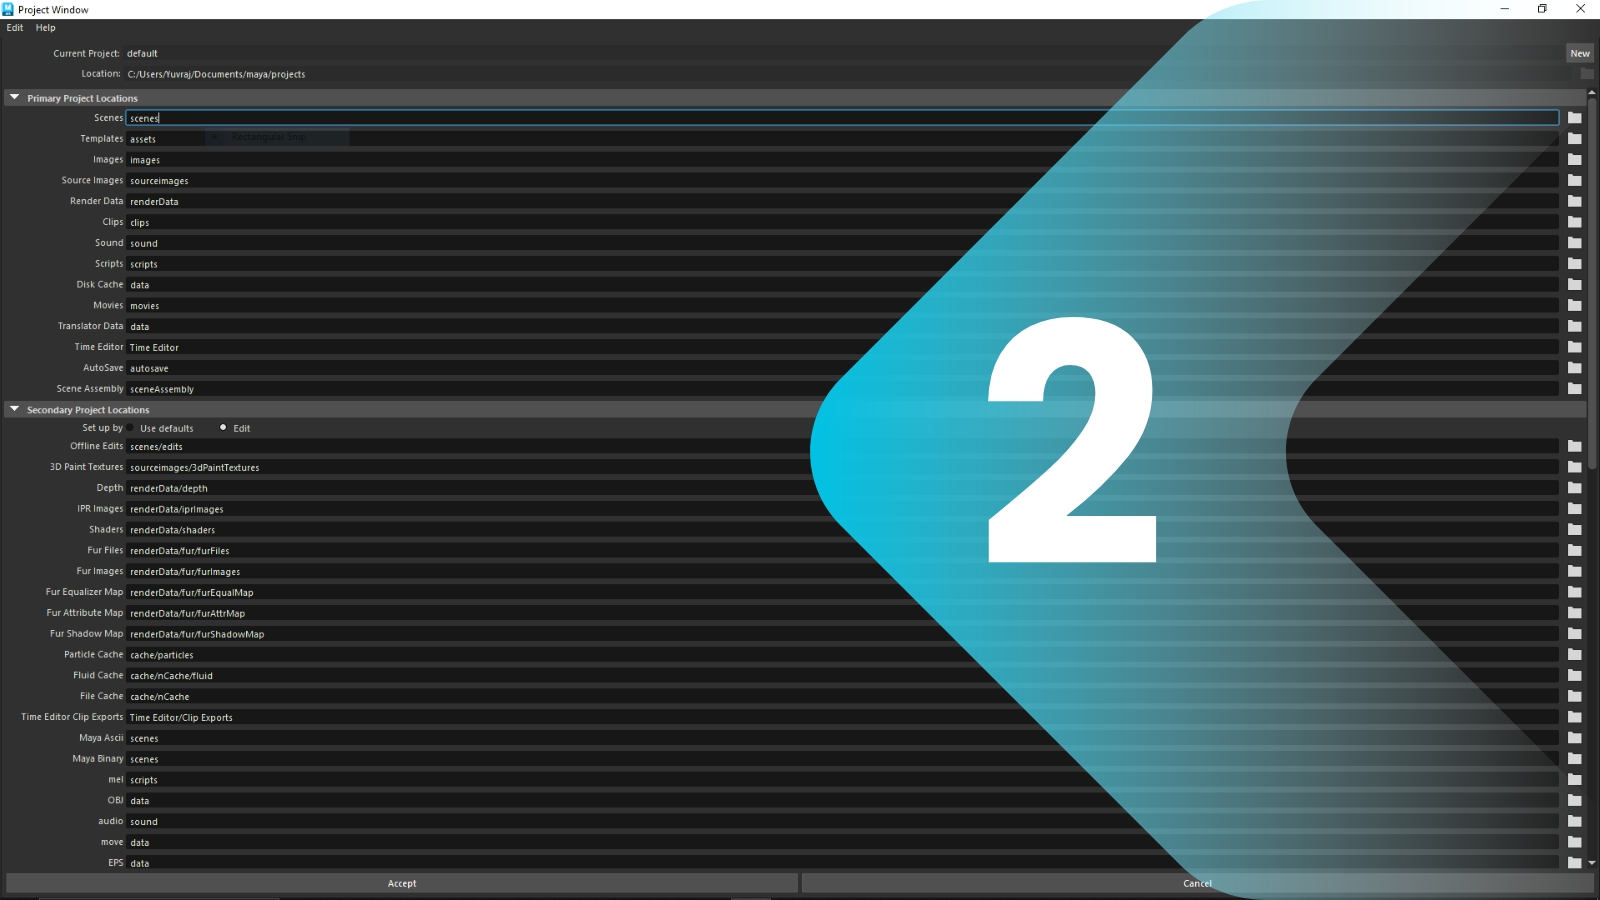
When beginning a new project, it’s crucial to use Maya’s built-in Project Folder Structure. You can create this by going to File > Project Window, where Maya automatically sets up directories for scenes, source images, textures, render data, and more. This not only helps keep everything organized but also ensures Maya can automatically locate necessary files, avoiding missing texture errors or broken references.
Dependencies in Maya, such as textures, models, rigs, and animation files, should be saved in the correct folders under this project structure. For example, textures go in the “sourceimages” folder, while rendered outputs are stored in the “images” folder. This standardization supports both local and network-based collaboration.
For external asset integration, Maya’s Reference Editor plays a vital role. Rather than importing large models or characters, referencing allows you to link to files externally. This keeps your scene lightweight and enables non-destructive editing. Any updates to the referenced file automatically propagate to the main scene, improving teamwork and iteration speed.
Version control is another essential part of dependency management. Maintaining versioned filenames (e.g., character_v01.mb, character_v02.mb) and using tools like Git, Perforce, or ShotGrid for managing file versions and changes helps avoid overwrites and ensures accountability.
In essence, a clean Maya project setup with properly managed dependencies ensures consistency, minimizes errors, and streamlines production from modeling to rendering. Whether you’re working solo or in a team, investing time in setting this up at the beginning will save countless hours down the line.
