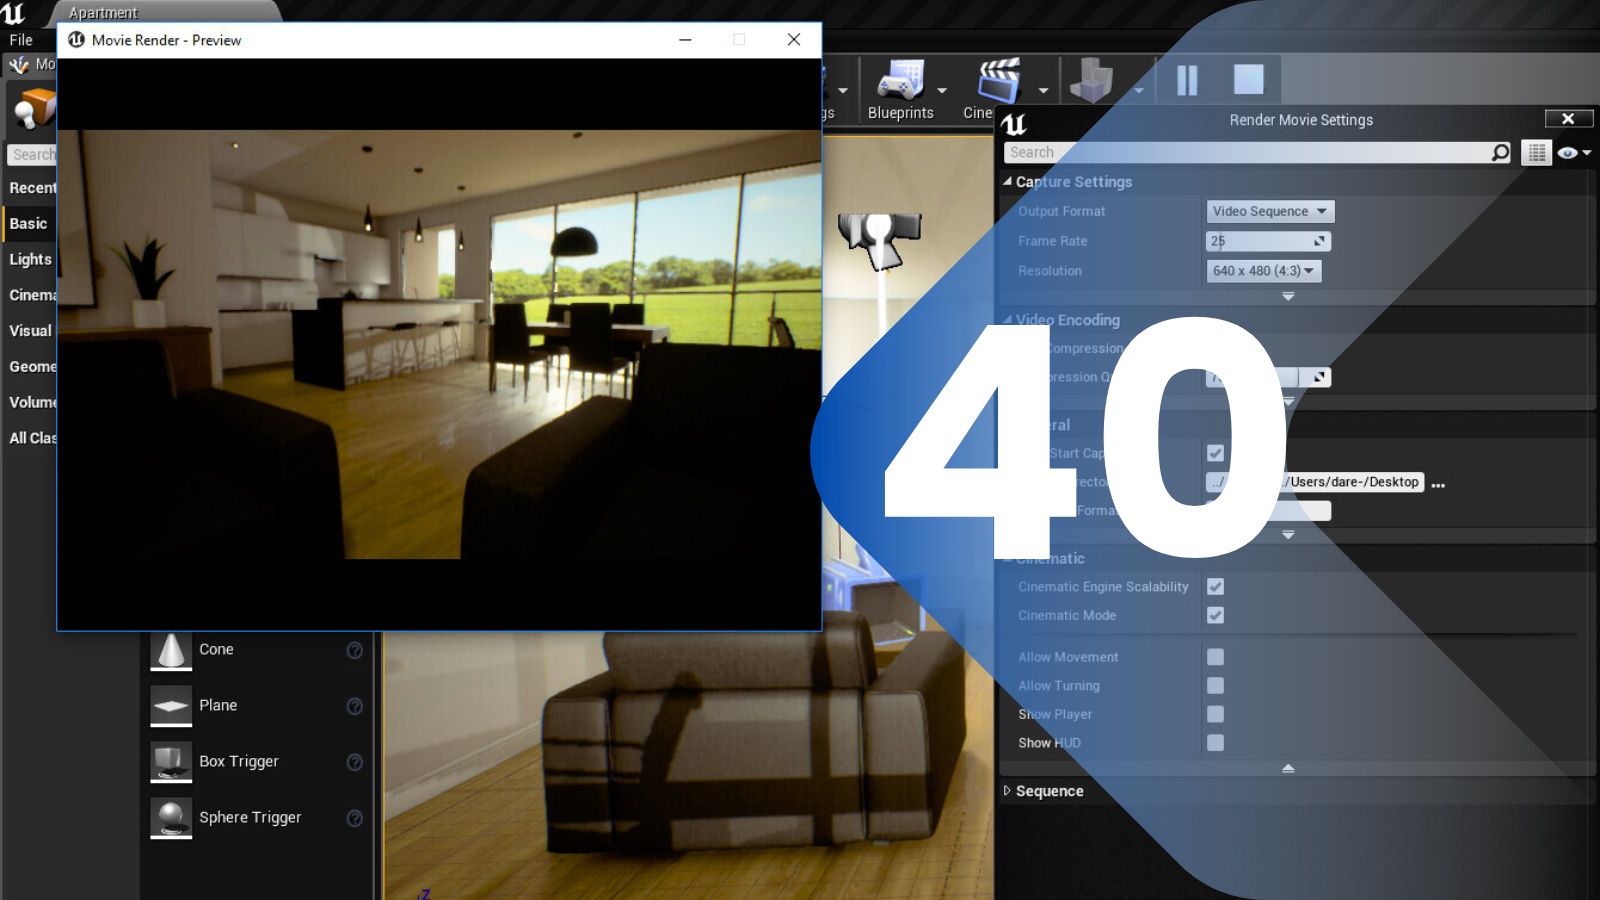
Day 40 takes your cinematic scene and prepares it for high-quality rendering using Unreal Engine’s Movie Render Queue. This professional-grade system lets you export your cutscenes or sequences into film-ready videos or promotional clips.
First, you’ll explore how Movie Render Queue works compared to traditional rendering tools. You’ll set up a Movie Render Queue job, linking your sequence and configuring critical settings such as resolution, frame rate, and output format. You’ll also learn about frame-by-frame rendering for ultra-smooth results and enabling high-quality temporal anti-aliasing (TAA).
You’ll then dive into console variables (CVars) that control render fidelity. Examples include:
-
r.PostProcessAAQuality -
r.MotionBlurQuality -
r.Shadow.MaxResolution
These CVars are configured in a render preset to maximize visual fidelity—perfect for trailers, reels, or short films. You’ll also explore render passes like beauty, depth, and AO (ambient occlusion), which are useful for compositing in external editing software later (if needed).
Next, optimization comes into focus. You’ll analyze performance using Unreal’s GPU profiler and stat commands, identifying which assets, lights, or effects are bottlenecks. You’ll learn strategies like:
-
LOD (Level of Detail) setup
-
Baking lighting for non-interactive scenes
-
Culling and occlusion optimizations
-
Using lower-cost post-process effects
Finally, you’ll batch-render your own cinematic sequence in 4K or 1080p, export it as a .mov or .avi, and review the quality. This renders a professional, high-resolution video that’s perfect for adding to a game portfolio, trailer reel, or pitch deck.
Day 40 marks your transition from developer to visual storyteller and filmmaker—giving you the tools to render breathtaking sequences directly inside the engine.
